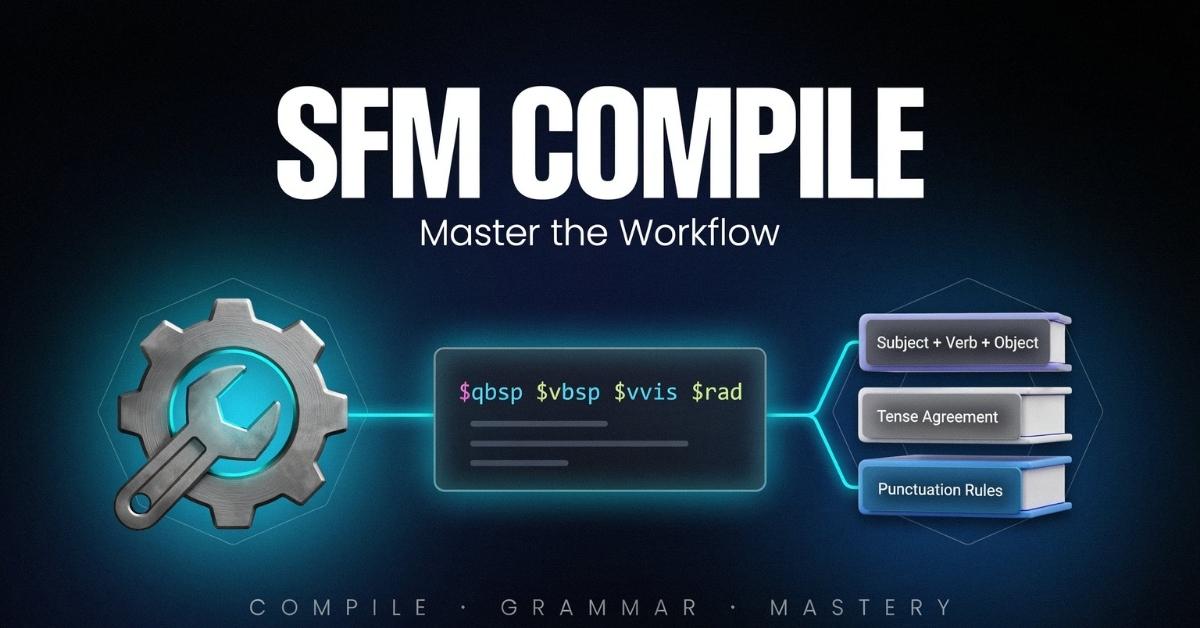
SFM compile is the process of converting your 3D model, textures, animations, and materials into Source Engine-compatible files that Source Filmmaker (SFM) can recognize and use. During compilation, tools like Crowbar and StudioMDL transform source files such as SMD, DMX, and QC into compiled formats like MDL, VVD, VTX, and PHY, allowing your custom assets to function correctly inside SFM. Whether you’re importing a custom character, creating a prop, or preparing an animation for a cinematic project, compiling is the final step that bridges your creative work with the Source Engine.
If you’ve ever encountered errors like “model won’t load,” “pink textures,” “compile failed,” or “missing materials,” you’re not alone. Nearly every Source Filmmaker creator encounters these issues at some point. The good news is that most compile problems stem from a handful of common mistakes—and once you understand the workflow, they’re surprisingly easy to fix.
This guide goes beyond basic tutorials. Instead of simply listing commands, you’ll learn how the SFM compile pipeline works, why each file matters, how to avoid common pitfalls, and which best practices experienced creators use to build reliable, high-quality assets.
Why You Need to Compile Models in Source Filmmaker
One of the biggest misconceptions among beginners is believing that Source Filmmaker can directly open files exported from Blender, Maya, or 3ds Max. Unfortunately, that’s not how the Source Engine works.
Unlike modern game engines that often import formats like FBX directly, Source Filmmaker relies on its own optimized file structure. Before your model can appear in SFM, it must be compiled into a format the engine understands.
Think of it like writing a document in a text editor. Your draft isn’t automatically ready for printing until it’s properly formatted. In the same way, your 3D model isn’t ready for Source Filmmaker until it’s compiled.
What Happens During the Compile Process?
When you compile a model, several important tasks happen behind the scenes:
- Geometry is converted into an optimized MDL model.
- Vertex information is stored in VVD files.
- Rendering data is written into VTX files.
- Physics data becomes a PHY file (if applicable).
- Materials connect through VMT files.
- Textures remain linked using VTF files.
- Animation sequences defined in your QC file are processed and assigned correctly.
- The Source SDK’s StudioMDL compiler validates everything before generating the final asset.
The result is a package of files that Source Filmmaker can load efficiently during animation or scene creation.
When Is Compilation Required In SFM Compile Guide?
Not every project requires compiling, but you’ll need it in several common situations.
You’re Importing a Custom Character
If you’ve modeled a character in Blender, Maya, or 3ds Max, compilation is mandatory before SFM can recognize it.
You’re Creating Custom Props
Weapons, furniture, vehicles, environmental assets, and accessories all require compilation before they become usable inside Source Filmmaker.
You’re Porting Models from Other Games
Many creators import assets from games like:
- Team Fortress 2
- Half-Life 2
- Counter-Strike: Source
- Left 4 Dead
- Garry’s Mod
Although these games share the Source Engine, models often need adjustments and recompilation to work correctly in SFM.
You’re Editing Existing Models
Even small changes—such as updating textures, adjusting bones, or adding animations—usually require recompiling the model to apply those modifications.
How the SFM Compile Pipeline Works
Understanding the complete workflow makes troubleshooting significantly easier. Instead of memorizing commands, you’ll understand how every stage connects.
Here’s the typical Source Filmmaker compile pipeline:
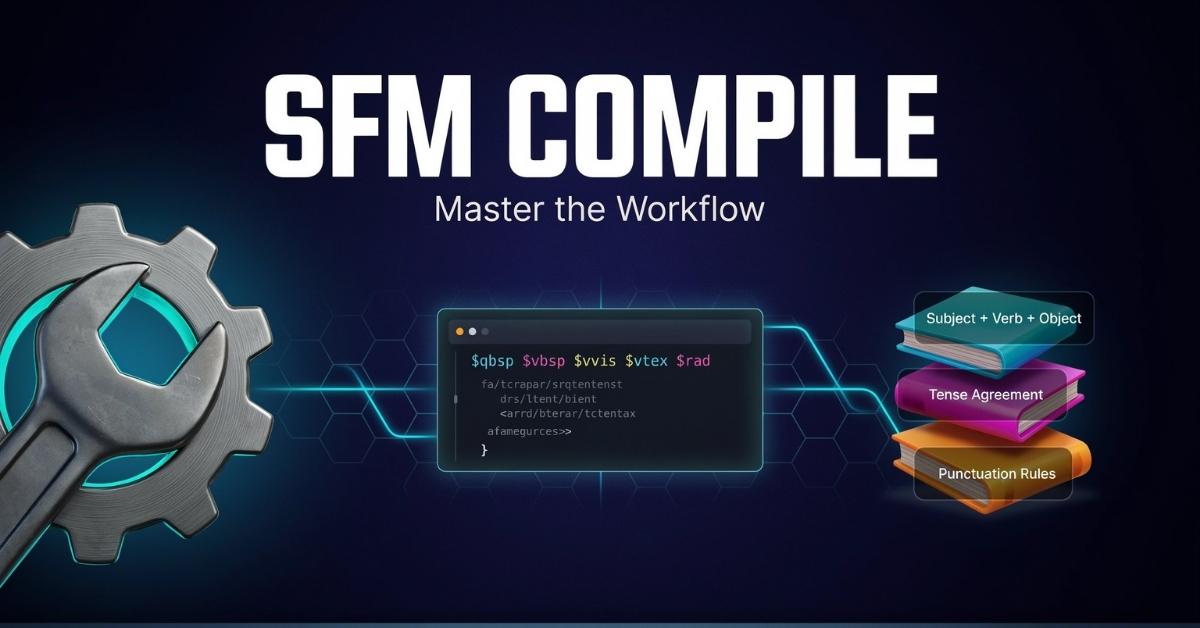
Create Model → Export Source Files → Prepare Materials → Write QC File → Compile with Crowbar/StudioMDL → Generate MDL Files → Import into SFM → Test and Troubleshoot
Each stage depends on the previous one. A mistake early in the pipeline often leads to confusing compile errors later.
Let’s break down each stage.
Step 1: Create or Edit Your Model
Most creators begin in software such as:
- Blender
- Autodesk Maya
- 3ds Max
During this stage, you’ll build:
- Meshes
- Bones
- Armatures
- UV maps
- Materials
- Animations
Before exporting, it’s essential to ensure:
- Normals face outward
- Transforms are applied
- Scale is consistent
- Bone hierarchy is clean
- Unused vertices are removed
- Duplicate geometry is eliminated
These small preparation steps prevent many compile errors later.
Step 2: Export Source Files
Once the model is complete, it’s exported into Source-compatible formats.
The two most common export formats are:
SMD
SMD (Studio Model Data) has been used for many years and remains widely supported.
Advantages include:
- Simple workflow
- Broad compatibility
- Easy troubleshooting
- Supported by most Source tools
DMX
DMX is the newer Source format.
It offers:
- Better animation support
- Improved flexibility
- More modern pipeline
- Enhanced compatibility with complex rigs
Many experienced creators now prefer DMX for advanced animation projects, while SMD remains popular for simpler assets because of its straightforward workflow.
Step 3: Prepare Textures and Materials
Models don’t just consist of geometry.
They also need:
- Diffuse textures
- Normal maps
- Specular maps
- Material definitions
In Source Engine, these rely on two primary file types.
VTF
Valve Texture Format (VTF) stores image data.
VMT
Valve Material Type (VMT) tells the engine how those textures should behave.
It controls:
- Lighting
- Transparency
- Reflection
- Surface properties
- Shaders
One incorrect material path can produce the infamous pink-and-black checkerboard texture, one of the most common issues new SFM users encounter.
Step 4: Write the QC File
The QC (QuakeC) file is arguably the most important part of the entire compile process.
Rather than containing the model itself, it acts as a set of instructions for StudioMDL.
A QC file tells the compiler:
- Where your model is located
- Which textures to use
- Which animations belong to the model
- Which physics model to generate
- Where compiled files should be saved
- Which collision settings to apply
- How the model should behave inside Source Filmmaker
Without a valid QC file, the compiler has no roadmap.
Even a missing quotation mark or incorrect folder path can prevent compilation.
Step 5: Compile Using Crowbar or StudioMDL
With your assets prepared, it’s time to compile.
Most creators use Crowbar, a community-developed graphical interface for StudioMDL.
Crowbar simplifies tasks such as:
- Selecting QC files
- Choosing output folders
- Configuring compiler paths
- Viewing compile logs
- Identifying errors quickly
Behind the scenes, Crowbar still relies on StudioMDL, the official Source Engine compiler.
This combination provides both convenience and compatibility, making it the preferred workflow for most Source Filmmaker users.
Step 6: Import and Test Inside Source Filmmaker
Compilation doesn’t end when the model builds successfully.
Testing is equally important.
After importing the compiled model into Source Filmmaker, verify that:
- Materials display correctly.
- Textures load properly.
- Bones deform as expected.
- Animations play smoothly.
- Physics behave correctly.
- Attachments work.
- Scale matches the scene.
- Collision behaves properly.
- Lighting appears natural.
Experienced creators rarely consider the first compile to be the final version. Instead, they expect several rounds of testing and refinement before a model is production-ready.
Tools You’ll Need Before SFM Compile
Having the right toolkit dramatically reduces compile errors and speeds up your workflow.
Essential Software
Source Filmmaker
The platform where your compiled assets will ultimately be used for animation, cinematics, posters, and storytelling.
Crowbar
One of the most trusted community tools for compiling Source Engine models. It simplifies the process by providing a graphical interface for StudioMDL, making tasks like selecting QC files, viewing compile logs, and managing output folders much easier.
Blender Source Tools
If you’re creating assets in Blender, this add-on allows you to export SMD and DMX files compatible with the Source Engine.
Source SDK
The Source Software Development Kit includes StudioMDL, the compiler responsible for generating the final model files used by Source Filmmaker.
Helpful Utilities Of SFM Compile
VTFEdit
Used to create and edit VTF texture files, ensuring your materials display correctly inside Source Filmmaker.
GCFScape
Useful for browsing and extracting assets from Source Engine game archives, making it easier to study existing models or reuse compatible resources.
Notepad++
A lightweight editor that simplifies writing and debugging QC files, thanks to syntax highlighting and search features.
Image Editing Software
Applications like Photoshop, GIMP, or Krita help prepare textures before converting them into VTF format.
Optional Productivity Tools
Advanced creators often streamline their workflow with:
- FFmpeg for video processing.
- Git for version control and project backups.
- Batch scripts for repetitive compile tasks.
- Cloud storage for collaborative projects.
- Asset management tools for large libraries.
While optional, these tools become increasingly valuable as projects grow in complexity.
Understanding Every File Used in SFM Compilation
Many compile errors occur simply because creators don’t understand what each file actually does. Once you know the role of every file, troubleshooting becomes much more logical.
| File Type | Purpose | Required? | Common Issues |
|---|---|---|---|
| QC | Contains instructions for StudioMDL during compilation | Yes | Syntax errors, incorrect paths, missing commands |
| SMD | Stores model geometry, skeleton, and animation data | Usually | Export issues, scale mismatches, broken rigs |
| DMX | Advanced model and animation format | Optional | Compatibility or version mismatches |
| MDL | The primary compiled model loaded by Source Filmmaker | Yes | Corruption or failed compilation |
| VTF | Stores texture images | Yes | Missing textures, incorrect conversion |
| VMT | Defines material properties and shader behavior | Yes | Pink or black checkerboard textures |
| VVD | Contains vertex data generated during compilation | Auto-generated | Missing or outdated file |
| VTX | Stores rendering and optimization information | Auto-generated | Compile failures or rendering issues |
| PHY | Holds collision and physics information | Optional | Incorrect collision behavior |
Understanding how these files interact is the foundation of a successful Source Filmmaker compile workflow. When one component is missing or misconfigured, the entire pipeline can fail—even if every other file is correct.
Step-by-Step: How to Compile an SFM Model
Now that you understand the files, tools, and pipeline, it is time to put everything together. The goal here is not just to make the model compile once, but to build a workflow that is repeatable, reliable, and easy to debug.
A good sfm compile workflow usually follows the same pattern every time: prepare the model carefully, export clean Source files, write a valid QC file, compile with Crowbar or StudioMDL, then test the final asset inside Source Filmmaker. When you follow that order, mistakes become much easier to isolate.
1. Export the Model Correctly
Before you ever touch Crowbar, your export needs to be clean.
Check These First
- Apply scale, rotation, and location transforms.
- Make sure the armature and mesh are aligned properly.
- Remove unused geometry.
- Confirm that bone names are consistent and readable.
- Keep the model’s origin where you actually want it to behave in SFM.
- Verify that textures are already linked or at least organized correctly.
Best Practice
If you are exporting from Blender, keep the scene simple. Many compile issues come from overcomplicated rigs, non-applied transforms, or inconsistent naming. A clean export almost always compiles better than a “perfect” scene with messy structure.
Choose the Right Export Format
- Use SMD for simpler workflows and wide compatibility.
- Use DMX when you need more flexible animation handling or you are working with a more modern Source pipeline.
The format you choose should match the project, not your mood. Beginners often try to switch formats repeatedly when the real problem is actually a bad export setup.
2. Create a Reliable QC File
A QC file is the instruction sheet for the compiler. Without it, StudioMDL has no idea what to build.
A basic QC file usually defines:
- the model name
- the body mesh
- texture folders
- animation sequences
- physics data
- collision data
- level of detail rules
A Simple QC Mindset
Do not try to write an advanced QC file on your first compile. Start with the smallest possible working version. Once the model compiles, add complexity one step at a time.
That approach saves time because if something breaks, you immediately know which new line caused the problem.
Common QC Mistakes
- Incorrect folder paths
- Missing quotation marks
- Wrong file extensions
- Wrong mesh names
- Broken sequence references
- Referencing textures that do not exist
- Accidentally pointing to the wrong output folder
Useful Rule
If your compile fails and the error log looks confusing, assume the QC file is wrong before blaming the compiler. In Source workflows, the QC is often the real source of the problem.
3. Compile Using Crowbar
Most creators use Crowbar because it makes the process far less painful than working directly with command-line tools.
Why Crowbar Helps
Crowbar gives you:
- a clear interface
- QC file selection
- compile log visibility
- easier error checking
- straightforward path configuration
For many users, Crowbar is the difference between giving up and actually finishing the compile.
Recommended Crowbar Workflow
- Open Crowbar.
- Select your QC file.
- Confirm the compiler path points to StudioMDL.
- Set your output folder.
- Start the compile.
- Read the log carefully.
- Fix errors one by one instead of changing multiple things at once.
Do Not Skip the Log
Many beginners only look for the final “success” or “failed” message. That is a mistake. The log usually tells you exactly what is wrong if you know how to read it.
4. Verify the Output Files
A successful compile should generate the expected Source Engine file set.
Depending on your model, you may see:
- MDL
- VVD
- VTX
- PHY
- supporting material and texture references
What to Check
- Did the files appear in the expected output directory?
- Does the model name match your QC?
- Are the texture paths correct?
- Was the physics file generated if you asked for one?
- Did the compiler silently skip something important?
A compile can technically finish while still producing an incomplete model. That is why output verification matters.
5. Import into Source Filmmaker
Once the compile is complete, test the model inside Source Filmmaker.
Check the Following
- Model loads without errors
- Textures appear correctly
- Materials behave properly under lighting
- Bones deform correctly
- Animations play without distortion
- Attachments appear where expected
- Collision and physics behave as intended
- Scale feels correct in the scene
Why Testing Matters
A model that compiles successfully is not necessarily production-ready. It might still have:
- bad weights
- incorrect materials
- broken attachments
- weird shading
- animation glitches
- poor scaling
Experienced SFM creators always do a test pass before considering the asset finished.
Learn More: Quartz vs Quartzite
SMD vs. DMX: Which Format Should You Use?
This is one of the most common decision points in any Source Filmmaker compile workflow.
SMD
SMD is the classic Source format. It is simple, widely documented, and easy to troubleshoot.
Best For
- beginners
- straightforward props
- simple character rigs
- older workflows
- creators who want something easy to debug
Pros
- widely supported
- easy to understand
- lots of community examples
- often simpler for first-time compiles
Cons
- less flexible than DMX
- older format
- not ideal for every advanced animation pipeline
DMX
DMX is often preferred when the project benefits from more modern handling of animation and structure.
Best For
- advanced animation work
- more complex rigs
- creators comfortable with Source toolchains
- projects that need more flexibility
Pros
- more modern
- better suited to some advanced workflows
- stronger animation support in some cases
Cons
- can be harder for beginners
- fewer simple tutorials compared with SMD
- version compatibility may confuse new users
Practical Rule
If you are new, start with SMD unless you have a specific reason to use DMX. If you are already comfortable with Source assets and want more flexibility, DMX may be the better long-term choice.
Crowbar vs. StudioMDL: Choosing the Right Compiler
You do not really choose between Crowbar and StudioMDL as if they were equal alternatives. In practice, Crowbar is the interface, while StudioMDL is the compiler doing the actual work.
StudioMDL
This is the core compiler from the Source toolchain. It is powerful, but it is not very beginner-friendly.
Strengths
- direct compilation
- official Source workflow
- reliable output when configured correctly
Weaknesses
- command-line heavy
- harder to debug manually
- less forgiving for beginners
Crowbar
Crowbar wraps StudioMDL in a user-friendly interface.
Strengths
- easier to use
- better for beginners
- readable logs
- convenient setup
- less intimidating
Weaknesses
- still depends on proper compiler setup
- does not fix QC mistakes
- cannot rescue broken source files
Best Choice
For almost every creator learning sfm compile, Crowbar is the smarter starting point. It lowers friction without removing the need to understand the pipeline.
QC Files Explained Without the Confusion
A lot of SFM tutorials make QC files sound more mysterious than they are. In reality, a QC file is just a set of instructions.
What a QC File Controls
- model name
- body mesh
- textures
- animations
- attachments
- collision models
- level of detail
- compile output behavior
Common QC Commands
Some of the most common commands include:
- $modelname
- $body
- $cdmaterials
- $sequence
- $surfaceprop
- $collisionmodel
- $lod
You do not need to memorize every directive at once. Start with the ones that matter for your project, then expand as your assets become more advanced.
Annotated QC Template Concept
A good QC file should be easy to read and easy to edit later. That means:
- consistent indentation
- clear comments
- logical file paths
- predictable naming
- no unnecessary complexity
When a QC file grows messy, troubleshooting becomes harder than the compile itself.
The Most Common QC Failure Patterns
1. Broken Paths
The compiler cannot find a mesh, material, or texture.
2. Syntax Errors
A missing bracket or quotation mark can stop the whole process.
3. Wrong File References
The QC points to a file that does not exist or has been renamed.
4. Mismatched Names
Mesh names in the QC do not match the export names.
5. Overcomplicated First Compile
Too many directives are added before the base model even works.
Practical Advice
Build your QC in layers. Get one working model first, then add sequences, physics, attachments, and LODs later.
Troubleshooting SFM Compile Errors
Even with careful preparation, compile issues still happen. The difference between frustration and progress is knowing how to read the symptom.
Compile Fails Immediately
This usually points to:
- QC syntax problems
- invalid paths
- missing export files
- wrong compiler configuration
Pink or Black Models
This almost always means a material or texture issue.
Common causes:
- wrong VMT path
- missing VTF
- broken texture folder structure
- incorrect material naming
Invisible Model
Possible causes:
- scale problems
- origin issues
- broken mesh export
- wrong body reference in QC
Broken Animation
Check:
- sequence names
- export format
- bone structure
- frame ranges
- whether the animation was actually exported
Physics Not Working
Possible causes:
- missing PHY
- incorrect collision mesh
- invalid physics directives in the QC
Error Log Strategy
Do not guess randomly. Read the log and look for:
- missing files
- path errors
- syntax warnings
- unsupported references
- duplicate definitions
If you treat the log like a clue instead of a wall of text, you will solve problems much faster.
Improve Compile Speed Without Sacrificing Quality
As projects grow, compile time becomes a real productivity issue.
How to Speed Things Up
- Keep source files organized
- Remove unnecessary geometry
- Avoid compiling unused assets
- Test small changes incrementally
- Use a fast SSD
- Keep project folders clean
- Reuse stable QC templates
Hardware Matters
A faster CPU and SSD can make a noticeable difference, especially on larger models with multiple sequences or physics data.
Workflow Matters Even More
A clean project usually saves more time than a better computer. Most compile delays are caused by disorganized assets, repeated mistakes, and unnecessary rework.
See More:Bichota Meaning
Advanced SFM Compile Techniques
Once the basics work, you can start using more advanced techniques to create better assets.
Custom Collision Models
Useful when you want more accurate physics or interaction behavior.
Level of Detail (LOD)
LOD helps reduce rendering strain by switching to simpler models at distance.
Multiple Bodygroups
Great for modular props, outfit variations, or character customization.
Animation Sequences
If your model includes animation, keep naming and export structure clean so sequences remain easy to manage.
Material Overrides
Useful when you need visual variation without creating an entirely new model.
Steam Workshop Optimization
For creators publishing assets, clean packaging and reliable compile behavior matter just as much as appearance.
How Experienced Creators Work On SFM Compile
Experienced Source Filmmaker users usually:
- keep reusable QC templates
- test one change at a time
- document successful compile settings
- separate textures, meshes, and exports cleanly
- preserve backups before experimenting
- treat compile logs as part of the workflow, not an afterthought
That mindset is one of the biggest differences between a frustrating workflow and a smooth one.
Real-World SFM Compile Workflow: From First Export to Final Test
To make sfm compile feel less abstract, it helps to see how the process works in a real project. Let us say you are compiling a custom character from Blender into Source Filmmaker for a short cinematic scene.
The workflow usually looks like this:
- Model and rig the character in Blender.
- Apply transforms so scale and rotation are clean.
- Export the geometry and animation as SMD or DMX.
- Prepare textures and convert them into VTF files.
- Create VMT material files so Source knows how to render the textures.
- Write the QC file with the correct model name, body, materials, and sequences.
- Compile with Crowbar using StudioMDL.
- Inspect the output logs for warnings or errors.
- Load the model in SFM and verify materials, bones, animation, and physics.
- Fix issues, recompile, and retest until the asset behaves correctly.
That is the real pattern behind a successful Source Filmmaker compile. It is rarely perfect on the first attempt, and that is normal. Experienced creators expect a few iterations before the model is ready for production.
Common Mistakes About SFM Compile
Most compile problems are not random. They usually come from a small group of repeat mistakes.
1. Wrong Folder Structure
If your textures, source files, and compiled output are scattered across different folders, the QC file often points to the wrong place.
Fix: Keep a clean project structure with separate folders for source exports, textures, QC files, and compiled output.
2. Forgetting to Apply Transforms
A model may look correct in Blender, but if scale, rotation, or location are not applied, the compiled result can be huge, tiny, rotated, or broken.
Fix: Apply transforms before export every time.
3. Broken Texture Paths
One of the most common causes of pink or checkerboard materials is a bad VMT or VTF path.
Fix: Double-check material folders and file names carefully. Source is very strict about naming.
4. Overcomplicated First Compiles
Beginners often try to add animations, physics, LOD, and bodygroups before they have even proven that the base model works.
Fix: Compile a minimal working version first. Then add features one by one.
5. Ignoring the Compile Log
The log is not optional. It is where the compiler tells you what went wrong.
Fix: Read the log slowly and identify the first real error, not the last symptom.
6. Mismatched Names
If the QC file references a mesh, sequence, or texture that was renamed during export, the compile can fail or produce partial output.
Fix: Use consistent naming from the start and avoid last-minute renames.
Best Practices Used by Experienced SFM Creators
The best Source Filmmaker creators are not just better at modeling. They are better at workflow.
Use Reusable QC Templates
Once you have a working QC file, keep it as a base template. This reduces mistakes and saves time on future projects.
Test in Small Steps
Do not change five things and then compile once. If something breaks, you will not know why.
Better approach: make one change, compile, test, repeat.
Keep Source Files Separate from Compiled Files
A messy project makes debugging harder. Keep your source exports, textures, scripts, and output folders organized.
That simple habit prevents a lot of confusion later.
Document What Works
If a certain export setting, texture path, or QC line works, save it.
Experienced creators build their own internal knowledge base over time.
Back Up Before Major Changes
Before experimenting with new sequences or physics setups, make a backup.
That way, if a compile fails badly, you can roll back without losing hours of work.
Use Clear File Names
Names like character_idle.smd or prop_table_dmx are far better than finalfinal2_newfix.
Clear names make your workflow faster and less stressful.
Compile Readiness Checklist
Before you hit compile, use this checklist to reduce avoidable errors.
- Model is cleaned up
- Transforms are applied
- Bones are named consistently
- Textures are converted
- VMT files are pointing to the correct VTF files
- QC file paths are correct
- Crowbar is configured properly
- StudioMDL path is valid
- Output folder is ready
- Source files are backed up
- Compile log is open and readable
If you can check all of those boxes, your chances of a smooth compile go up dramatically.
Frequently Asked Questions
What does SFM compile mean?
SFM compile means converting source assets such as models, textures, and animations into Source Engine formats that Source Filmmaker can load and use.
Can I compile directly from Blender?
Not directly in the way most beginners expect. Blender usually exports to SMD or DMX, and then a compiler like Crowbar and StudioMDL turns those exports into Source-ready files.
Do I need Crowbar?
You do not absolutely need it, but for most creators, Crowbar is the easiest and safest way to manage the compile process.
What is the difference between SMD and DMX?
SMD is a classic Source format that is simple and widely supported. DMX is more flexible and often better suited to more advanced workflows.
Why does my model appear pink?
That usually means Source Filmmaker cannot find the correct VMT or VTF files, or the material path is wrong.
Why won’t my model compile?
Common causes include:
- broken QC syntax
- missing source files
- wrong folder paths
- export problems
- invalid compiler setup
The first thing to check is the QC file and the compile log.
How do I reduce compile times?
Keep your project organized, remove unused geometry, test in small steps, and avoid recompiling everything when only one small part changed.
Can I compile animations separately?
Yes, animation sequences are often handled separately in the QC file. The exact setup depends on your project structure and export format.
What files does Source Filmmaker use after compile?
The most common compiled files are MDL, VVD, VTX, and sometimes PHY, along with the material and texture references that support them.
Conclusion
SFM compile is not just a technical step. It is the bridge between your creative work and a model that actually functions inside the Source Engine. When you understand the pipeline—from SMD or DMX, to QC, to Crowbar, to StudioMDL, to the final MDL output—you gain real control over your projects.
Whether you are building a simple prop, a custom character, or a complex animated asset, the same principle applies: clean source files, correct paths, valid QC logic, and careful testing.
That is how you turn a compile from a headache into a repeatable creative process.